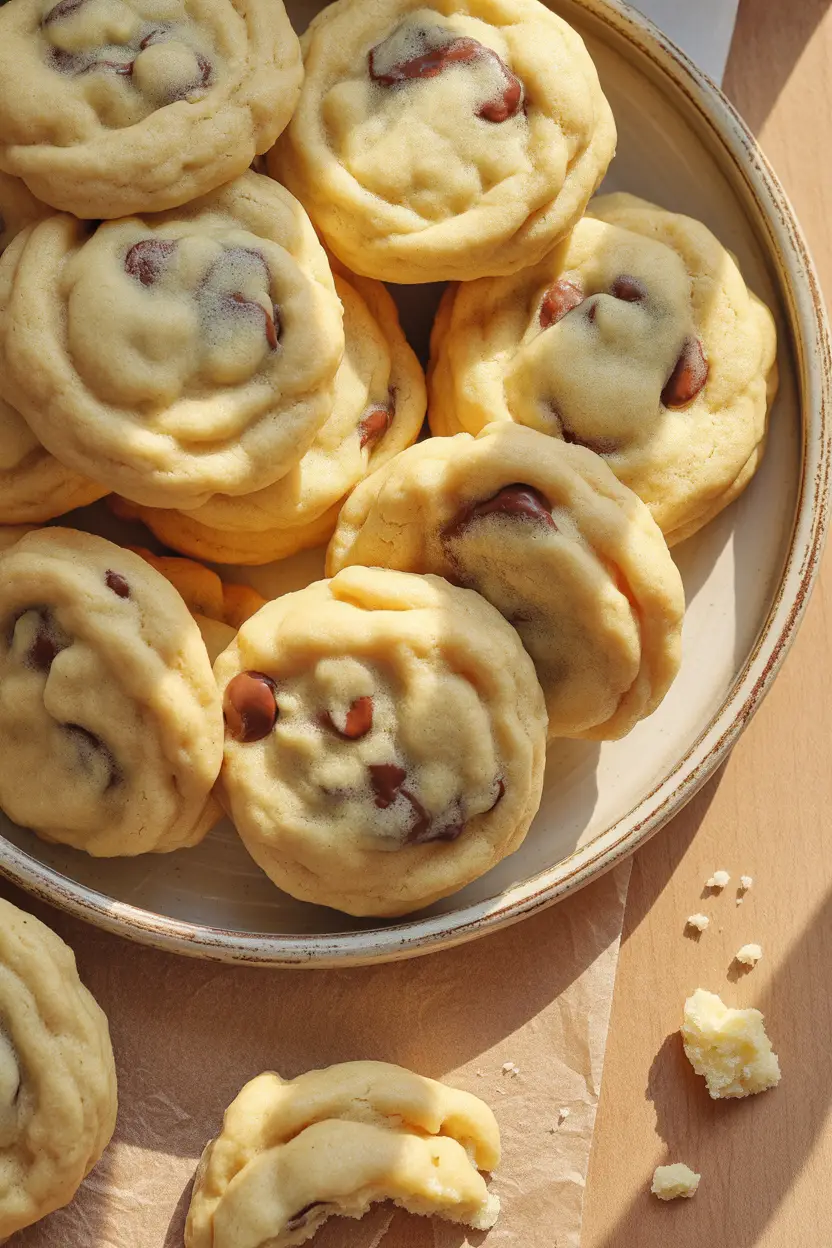
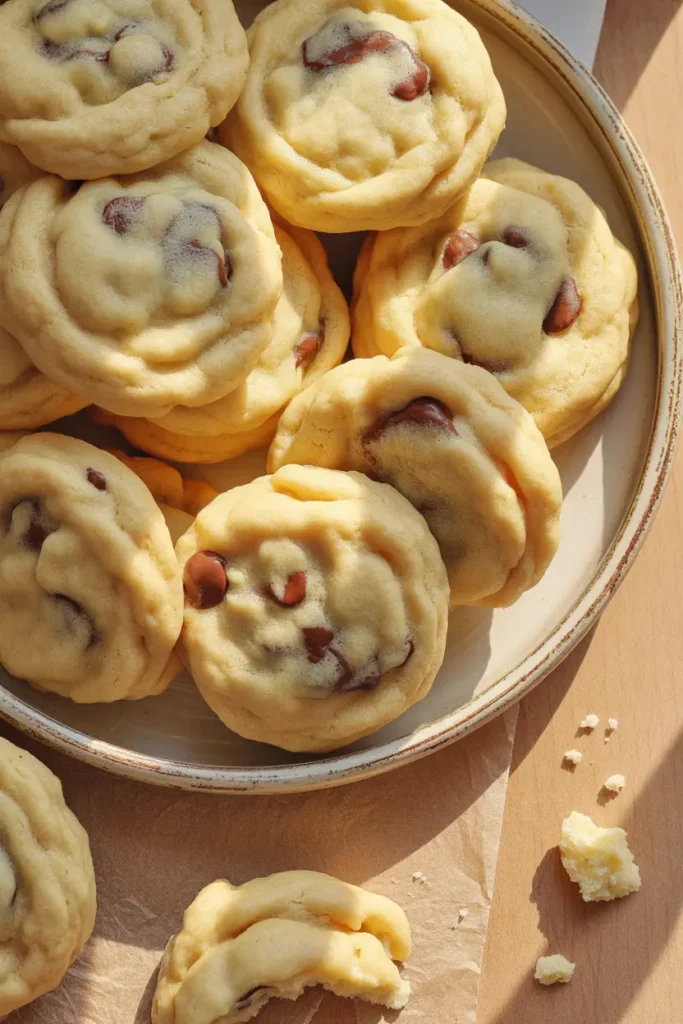
I don’t know about you, but there’s something about the words “Grandma-Style” that just instantly makes a recipe feel like a hug. Like warm socks and that old floral couch smell that somehow meant you were safe. That’s what these cookies are. Safe. Warm. Ridiculously easy. And completely addictive in the “just one more” kind of way.
These condensed milk cookies aren’t just soft and buttery — they’re the kind of thing that disappears off the counter faster than you can say, “Save one for me.” They’re also freezer-friendly, great for gifting, and the perfect bake if your brain just needs a break from complicated instructions and fancy baking science. This isn’t that. This is simple, delicious, and made for real life.
So if your pantry’s got a can of sweetened condensed milk and your fridge has butter — you’re already halfway there. Let’s get into it.
What You’ll Need
Here’s what you’ll need to make a batch (actually, about 90 mini cookies) of these crumbly-soft little bites of happiness.
| Ingredient | Amount |
|---|---|
| Unsalted or salted butter | 450g (about 2 cups), softened |
| Granulated sugar | 200g (1 cup) |
| Vanilla extract or vanilla bean paste | 1 teaspoon |
| Sweetened condensed milk | 395g (14 oz can) |
| All-purpose flour | 520g (about 4 cups) |
| Baking powder | 1½ teaspoons |
| Chocolate chips (or chopped chocolate) | 400g (about 2 cups) |
This recipe makes a LOT of cookies. They’re mini but mighty — and they freeze well, so you can stash them for later if you don’t trust yourself to be alone with 90 cookies. (Relatable.)
Why These Cookies Just Work
There are a few key reasons why these cookies hit every single time.
First, the condensed milk gives them this silky, rich texture that plays so well with the crisp edges. Second, they don’t have any eggs, which means they’re more stable for people with egg allergies or if you’re just low on fridge essentials.
And last, they’re the perfect base. Add chocolate chips? Great. Want lemon zest and poppy seeds? That works too. Honestly, once you get this base down, you can riff in so many directions. But don’t skip it straight away — the original deserves your full attention at least once.
Tools You’ll Need
This is a simple recipe, so you won’t need a lot. Here’s what to grab before you start:
- Stand mixer or hand mixer
- Mixing bowls (large and medium)
- Measuring cups and spoons
- Kitchen scale (optional but more accurate)
- Rubber spatula or wooden spoon
- Cookie scoop (recommended: 1 tablespoon size)
- Baking trays
- Parchment paper
- Wire cooling racks
That’s it. Nothing fancy. Just basics you probably already have in your kitchen.
Real-Life Tips That Make This Recipe Even Better
1. Use soft butter — not melted, not cold.
If your butter is too hard or too melted, the cookie texture will be off. Softened butter means it’s easy to cream with the sugar, and you’ll get that smooth, fluffy texture that makes these so satisfying to bite into.
2. Don’t skip the cookie scoop.
It might seem unnecessary, but scooping with the same size every time helps them bake evenly. And it makes you look like you know exactly what you’re doing. Bonus.
3. Let the cookies cool on the tray first.
These cookies continue to firm up as they cool, and moving them too early can cause them to crumble. Ten to fifteen minutes on the tray before moving to a wire rack is ideal.
4. Freeze the dough balls.
Scoop the dough, freeze it, and store in a ziplock bag. Bake them from frozen whenever you want fresh cookies in under 20 minutes. Trust me, you’ll thank yourself later.
5. Rotate the pans mid-bake.
Ovens have hot spots, and rotating halfway through helps you avoid the “why are these five cookies browning while the rest are ghostly pale?” dilemma.
Substitutions and Variations
You’re not locked in here. This recipe is flexible, and there’s room to make it work for your taste, mood, or pantry situation.
- Butter: Salted or unsalted both work. If you’re using unsalted, just add about ½ teaspoon of salt to the dough.
- Chocolate: Chips, chunks, chopped bars — anything goes. Try white chocolate and macadamia for something different.
- Gluten-free: Swap the flour for a 1:1 gluten-free blend. It’ll change the texture a little, but they’re still great.
- Flavor swaps: Add a little almond extract. Mix in orange zest. Fold in sprinkles for a birthday cookie vibe.
- Vegan option: Use vegan butter and plant-based sweetened condensed milk. They work surprisingly well!
Make-Ahead Notes
You can make the dough ahead and keep it chilled in the fridge for up to 2 days.
But here’s a better move: scoop all the dough into balls and freeze them on a tray. Once they’re frozen solid, transfer to a freezer-safe bag or container. That way, you can bake off just a few at a time straight from the freezer. No thawing needed — just add 1–2 minutes to the baking time.
Let’s Bake These: Step-by-Step Instructions
- Preheat your oven to 330°F (165°C).
Line your baking trays with parchment paper and set aside. - Cream the butter, sugar, and vanilla together.
Use your stand mixer or hand mixer and beat for about 2–3 minutes until the mixture looks light and fluffy. - Add the condensed milk.
Pour the whole can in and beat until everything’s smooth. You’ll notice it gets glossy and thick — that’s exactly what you want. - Sift in your flour and baking powder.
Mix until the flour is just combined. Don’t overmix here. The dough should be soft but hold its shape. - Fold in your chocolate chips.
Use a spatula or spoon to mix them in evenly. - Scoop the dough.
Use a tablespoon or small cookie scoop to portion the dough into balls and place them on your lined trays, spaced about 2 inches apart. - Bake for 14–15 minutes.
The edges should be very lightly golden. Don’t wait for the tops to brown — they won’t, and you’ll overbake them. - Cool on the tray.
Let them sit for 10–15 minutes before transferring to a wire rack to cool completely. - Repeat until all dough is used.
If you want to freeze some dough, now’s the time.
Nutritional Info (Per Cookie Estimate)
| Category | Amount |
|---|---|
| Calories | ~130 kcal |
| Fat | 7–8g |
| Carbs | 13–15g |
| Protein | ~1g |
Keep in mind this is an estimate and can vary based on what chocolate you use or how big your scoops are. But this gives you a ballpark.
Leftovers & Storage
Room temperature cookies should be stored in an airtight container. They’ll stay fresh for about 5–7 days.
Want them warm again? Microwave for 10 seconds, or pop in the oven at 300°F for a few minutes.
You can also freeze baked cookies. Let them cool fully, then store in a freezer-safe bag. Reheat as needed — they’re amazing slightly warm.
FAQs
Can I use margarine instead of butter?
Technically, yes. But the flavor and texture will be noticeably different. If you want that buttery taste and tender bite, stick with the real stuff.
What if I don’t have a mixer?
You can mix by hand — just be ready to put some muscle into creaming the butter and sugar. Let the butter get very soft if you’re doing this manually.
Do I need to chill the dough?
Not necessarily. If your butter was really soft or your kitchen is warm, you can chill the dough for 20–30 minutes before baking to prevent too much spreading.
Why did my cookies spread too much?
It could be from overcreaming or using overly soft/melted butter. Try chilling the dough next time before baking.
Can I halve the recipe?
Yes! Just divide everything by two. But honestly, once you try them, you might regret not making the full batch.
Wrap Up
If you’ve never made cookies with condensed milk before, this is your sign to do it. They’re everything you want in a quick cookie — soft, buttery, rich, and full of flavor. No eggs. No stress. Just pure joy in cookie form.
So try them. Bake a batch. Or stash some dough balls in the freezer and bake them off when you need a pick-me-up that smells like someone loves you. And when you do, come back and let me know how they turned out. Did you go classic or add a fun twist? Did they last more than 48 hours?
Can’t wait to hear all about it.