There are nights when I open the fridge and just stare into it, hoping for an idea to magically appear. You know those nights? You want something that tastes incredible, maybe even a little fancy, but the thought of a complicated recipe makes you want to just order a pizza.
I’ve been there. A lot.
This recipe is for those nights. It looks elegant, like something you’d get at a decent restaurant, but it’s secretly one of the easiest things you can make. It’s my go-to for when I have people over and want to look like I have my life together.
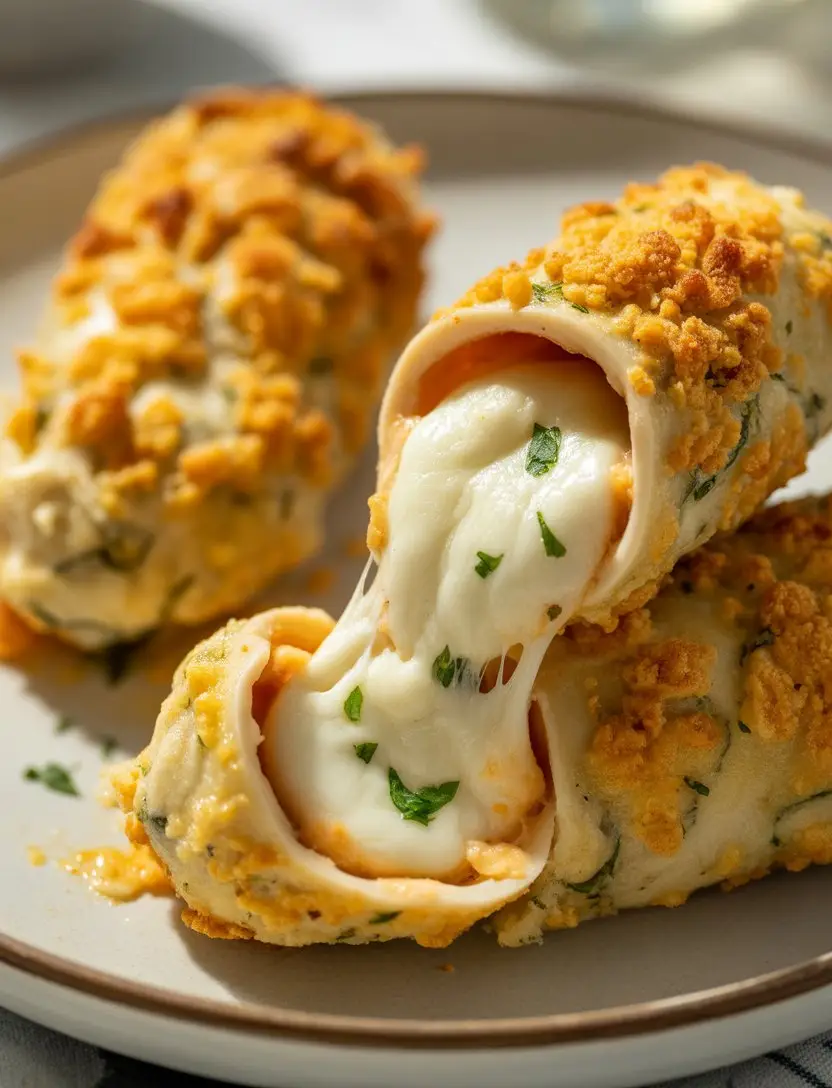
It’s just chicken, cheese, and some breadcrumbs, but when you put it all together, something amazing happens. It’s cheesy, it’s savory, it has a perfect crunch, and it’s basically foolproof. You get to feel like a culinary genius without actually having to be one.
So let’s make something that’ll make you feel good. Because you deserve a dinner that’s both easy and ridiculously delicious.
What You’ll Need
Here’s the simple shopping list. Nothing too wild, and you probably have a bunch of this stuff already.
- Chicken Breasts: Four boneless, skinless ones are perfect. They’re the blank canvas for our masterpiece.
- Mozzarella Cheese: A block of low-moisture mozzarella is best. The pre-shredded stuff has anti-caking agents that don’t melt as well. Trust me on this.
- Italian Breadcrumbs: These come pre-seasoned, which saves us a step. Easy is the goal here.
- All-Purpose Flour: Just a little for dusting. It helps the egg stick.
- Eggs: Two large ones to act as the glue for our crunchy coating.
- Garlic Powder & Onion Powder: The power couple of the spice world. We’ll mix this with the cheese.
- Fresh Parsley: Finely chopped. It adds a pop of color and freshness that really makes a difference. Dried is fine in a pinch.
- Olive Oil: Or a neutral cooking spray for the baking sheet.
- Salt and Black Pepper: To taste. The essentials.
Pro Tips
I’ve made this a ton of times, and I’ve made a few mistakes along the way. Here are a few things I learned so you don’t have to.
- Even Stevens Chicken: Pounding the chicken until it’s an even thickness (about 1/4 inch) is the most important step. If it’s uneven, one end will be dry while the other is still trying to cook. It’s also a fantastic way to get out some stress.
- Don’t Overfill: It’s so tempting to stuff as much cheese in there as possible. I get it. But if you overdo it, you’ll have a cheese explosion in your oven. A little goes a long way, and a tight roll is better than a fat, leaky one.
- The Assembly Line: Set up your breading station before you start. One shallow dish for flour, one for the beaten eggs, and one for the breadcrumbs. Work from left to right. This little bit of organization prevents a huge mess and makes the process so much smoother.
- Toothpick Power: Don’t be shy with the toothpicks. Use them to seal the seam and the ends of the chicken roll. This is your insurance policy against the cheese making a run for it. Just remember to take them out before you serve them!
Tools Required
No fancy gadgets needed. Just your basic kitchen warriors.
- Meat Mallet (or a rolling pin, or even a heavy pan)
- Cutting Board
- Sharp Knife
- Three Shallow Dishes (for breading)
- Baking Sheet
- Toothpicks
- Measuring Spoons
Possible Substitutions and Variations
This recipe is pretty forgiving. Feel free to play around with it!
For the Cheese: Mozzarella is the classic, gooey choice. But provolone adds a nice sharp flavor. Swiss cheese is also fantastic, giving it a Cordon Bleu kind of vibe. A sprinkle of Parmesan in the filling or breadcrumbs adds a great salty kick.
For the Filling: Add a thin slice of prosciutto or ham inside before the cheese. Or, for a veggie-packed version, add some finely chopped spinach (make sure you squeeze out ALL the water first) or sautéed mushrooms.
For the Breading: Panko breadcrumbs will give you an even crispier, crunchier crust. If you’re going low-carb or keto, you can use crushed pork rinds mixed with some almond flour. It sounds weird, but it’s delicious.
Step-by-Step Instructions
Alright, let’s get to the fun part. This moves pretty quickly once you start.
Step 1: Prep the Oven and Pan
First things first, preheat your oven to 400°F (200°C). Lightly grease a baking sheet with olive oil or cooking spray and set it aside.
Step 2: Pound the Chicken
Place a chicken breast between two pieces of plastic wrap. Using a meat mallet or a rolling pin, pound the chicken until it’s about 1/4-inch thick. Be firm but not so aggressive that you tear the meat. Repeat with the other chicken breasts. Season both sides of each piece with a little salt and pepper.
Step 3: Make the Cheesy Filling
In a small bowl, mix your mozzarella cheese, the chopped parsley, garlic powder, and onion powder. Give it a good stir so everything is combined.
Step 4: Fill and Roll
Lay a pounded chicken breast flat. Spoon about a quarter of the cheese mixture onto the chicken, leaving a small border around the edges. Starting from one of the shorter ends, roll the chicken up as tightly as you can. It’s like rolling a tiny burrito.
Step 5: Secure the Roll
Use two or three toothpicks to secure the seam of the chicken roll so it doesn’t unravel while baking. If needed, use another toothpick to close up each end. Repeat for all the chicken breasts.
Step 6: Set Up the Breading Station
Get your three shallow dishes. Put the flour in the first one. Beat the eggs in the second one. Put the Italian breadcrumbs in the third one.
Step 7: Bread the Chicken
Take one chicken roll, dredge it in the flour, and shake off the excess. Then, dip it completely in the beaten egg, letting any extra drip off. Finally, roll it in the breadcrumbs, pressing gently to make sure it’s fully coated. Place the coated chicken roll on your prepared baking sheet.
Step 8: Bake to Perfection
Place the baking sheet in the preheated oven. Bake for 25-30 minutes, or until the chicken is cooked through (an internal temperature of 165°F or 74°C) and the coating is golden brown and crispy.
Step 9: Rest and Serve
Let the chicken rolls rest for about 5 minutes before serving. This helps the juices redistribute and the cheese to set a bit. And please, please remember to remove the toothpicks before you dig in!
The Nitty Gritty: Nutrition, Pairings, and More
Sometimes it’s nice to know a little more about what you’re eating. Or how to make it fit your lifestyle. Here’s a quick breakdown.
Nutritional Breakdown (A Very Rough Estimate)
This is just a ballpark, so don’t take it as gospel. It’s food, not a science experiment. But for those who are curious:
| Nutrient | Approx. Amount (per roll) | Why It’s Good |
|---|---|---|
| Calories | 350-450 kcal | Energy to live your life. |
| Protein | ~40g | Keeps you full and happy. |
| Fat | ~15g | Flavor and satisfaction! |
| Carbs | ~15g | From the tasty, crunchy breading. |
Ingredient Swaps for Different Diets
You can totally tweak this to fit your needs.
| Diet | The Swap | Simple Note |
|---|---|---|
| Gluten-Free | Use GF flour and GF breadcrumbs. | Most stores have these now! |
| Keto / Low-Carb | Swap flour/breadcrumbs for almond flour/pork rinds. | Adds extra crunch and flavor. |
| Dairy-Free | Use a dairy-free mozzarella alternative. | They melt better than they used to! |
Meal Pairing Suggestions
This chicken is the star, but every star needs a supporting cast.
- A Simple Green Salad: A little vinaigrette is all you need.
- Roasted Veggies: Broccoli, asparagus, or bell peppers tossed in olive oil and roasted alongside the chicken.
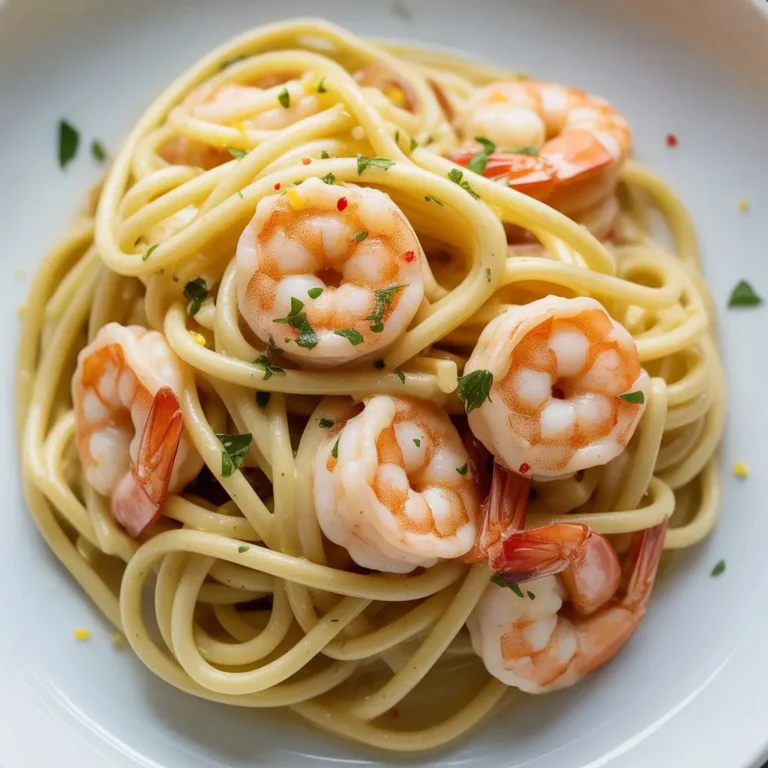
- Pasta: A light marinara or an aglio e olio (garlic and oil) pasta works perfectly.
- Mashed Potatoes: Because… mashed potatoes. They go with everything.
Cooking Time Efficiency Tips
Want to get this on the table even faster?
- Prep Ahead: You can pound out the chicken and mix the filling a day in advance. Just store them in airtight containers in the fridge.
- Double Batch: While you’re at it, make a double batch. It takes almost no extra time, and you can freeze the extras for another day.
Leftovers and Storage
If you have any leftovers (which is a big “if”), they store really well.
Just pop them in an airtight container in the fridge for up to 3 days. To reheat, the oven or an air fryer at 375°F (190°C) for about 10-15 minutes is best. It will bring back that glorious crunch. The microwave works, but the breading will get a little soft.
Frequently Asked Questions
Q1. My cheese all leaked out! What did I do wrong?
Ans: It happens to the best of us! It usually means the roll wasn’t quite tight enough or it needed another toothpick. A little cheese leakage is normal and creates a delicious, crispy “cheese skirt” on the pan, so don’t sweat it. Next time, just try to roll it a bit tighter and make sure the seam is on the bottom.
Q2. Can I make these in an air fryer?
Ans: Absolutely. The air fryer is amazing for this. Cook them at 380°F (193°C) for about 18-22 minutes, flipping halfway through. They get incredibly crispy.
Q3. Can I freeze these for later?
Ans: Yes! This is one of my favorite things to freeze. You can freeze them before or after baking.
To freeze uncooked: Assemble and bread the chicken rolls, but don’t bake them. Place them on a baking sheet and freeze until solid. Then transfer them to a freezer bag. You can bake them straight from frozen, just add about 15-20 minutes to the baking time.
To freeze cooked: Let them cool completely, then wrap and freeze. Reheat in the oven or air fryer.
Wrapping Up
So there you have it. A recipe that looks impressive but is actually a piece of cake to make. It’s perfect for a weeknight dinner, for having guests over, or just for treating yourself to something special.
The best part is feeling like a kitchen wizard when you cut into that crispy crust and see the cheese pull. It’s a small victory, but it’s a good one.
Give it a shot. I promise you can do this. And when you do, I’d love to hear about it. Leave a comment below and tell me how it turned out, or if you have any questions. I’m always here to help!

