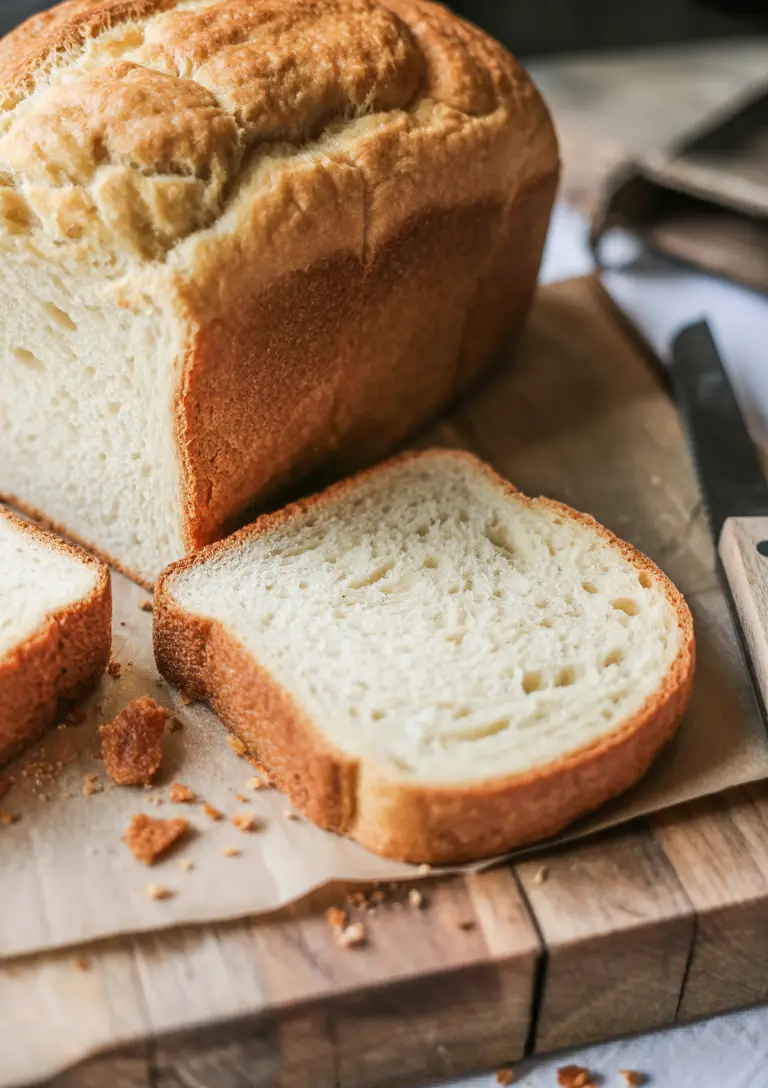
There are certain foods that just feel like a hug. For me, King’s Hawaiian Rolls are at the top of that list. That sweet, fluffy bread is just… something else.
I usually just eat them plain, straight out of the bag. No shame. But one day I had a thought. A dangerous, wonderful thought.
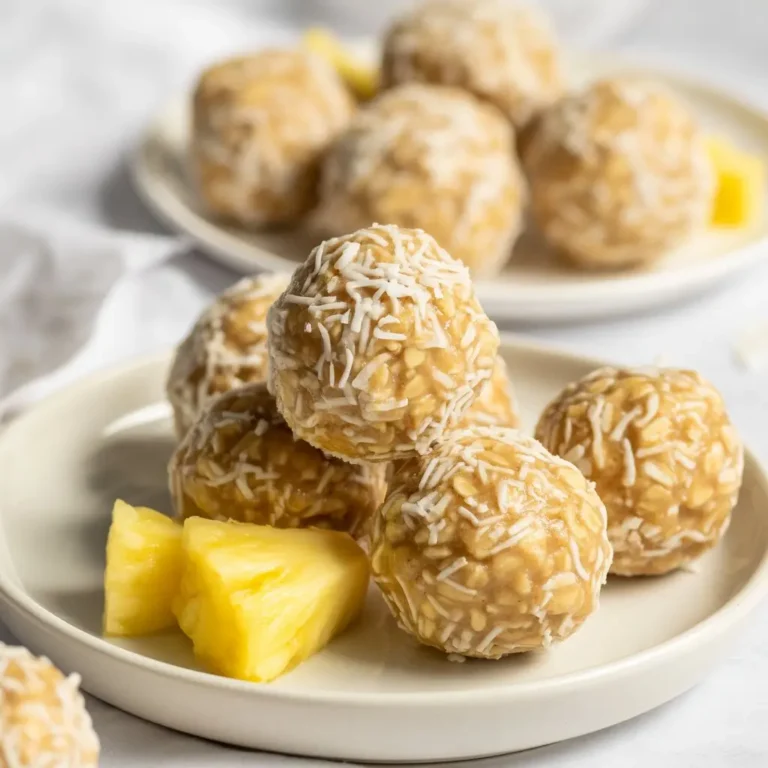
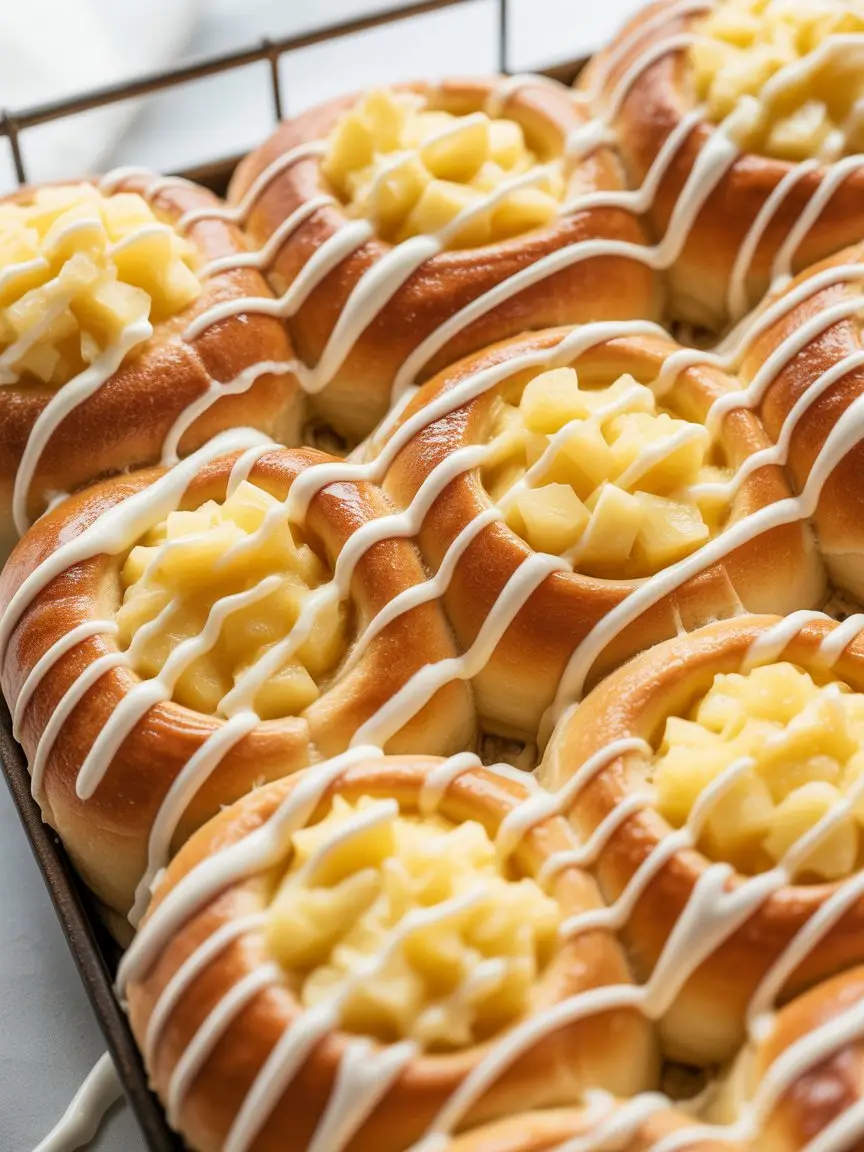
What if I took that amazing bread and combined it with the creamy goodness of cheesecake? And what if I threw some pineapple on top to make it a full-on tropical party?
That’s how this recipe was born. It’s part Danish, part cheesecake, and all kinds of delicious. It sounds complicated, but I promise it’s surprisingly simple to pull off.
So let’s make something that will make everyone ask for the recipe. Seriously, be prepared for that.
What You’ll Need
Here’s the breakdown of everything you need to grab from the store. I’ve split it up so it’s a little easier to digest.
For the Danish Base:
- 1 (12-count) package of King’s Hawaiian Original Hawaiian Sweet Rolls
- 2 tablespoons unsalted butter, melted
For the Cheesecake Filling:
- 8 ounces cream cheese, softened to room temperature
- 1/3 cup granulated sugar
- 1 large egg
- 1 teaspoon vanilla extract
- 1 tablespoon fresh lemon juice
For the Topping & Glaze:
- 1 (8-ounce) can crushed pineapple, drained VERY well
- 1/4 cup sweetened shredded coconut, toasted (optional but recommended)
- 1/2 cup powdered sugar
- 1-2 tablespoons milk or pineapple juice
Tools Required for the Job
You don’t need a professional kitchen for this, just a few basic things.
- 9×9 inch baking dish
- Electric mixer (handheld or stand mixer)
- A couple of mixing bowls
- Spatula
- Measuring cups and spoons
- A small spoon or the bottom of a glass
Step-by-Step Instructions
Alright, let’s get down to business. Follow these steps and you’ll be golden.
Step 1: Preheat your oven to 350°F (175°C). Lightly grease your 9×9 inch baking dish.
Step 2: Arrange the Hawaiian rolls in the baking dish. They should be snug against each other. Use a small spoon or the bottom of a small glass to gently press down the center of each roll, creating a little well. Don’t press all the way through!
Step 3: Brush the tops and sides of the rolls with the melted butter. This helps them get that beautiful golden-brown color.
Step 4: In a medium bowl, beat the softened cream cheese with an electric mixer until it’s completely smooth. This is important! Any lumps now will be lumps later. Scrape down the sides of the bowl.
Step 5: Add the granulated sugar, egg, vanilla extract, and lemon juice to the cream cheese. Beat on medium speed until everything is well combined and the mixture is creamy and smooth.
Step 6: Carefully spoon the cheesecake filling into the little wells you made in each roll. It’s okay if a little bit overflows onto the top.
Step 7: Bake for 15-20 minutes, or until the cheesecake filling is set and the rolls are a light golden brown. The filling should have a very slight jiggle in the center.
Step 8: Let the dish cool on a wire rack for about 20-30 minutes. It’s tempting to dig in right away, but this helps the filling set up properly.
Step 9: While it’s cooling, mix your glaze. In a small bowl, whisk together the powdered sugar and 1 tablespoon of milk or pineapple juice. Add more liquid, a tiny bit at a time, until you get a nice drizzly consistency.
Step 10: Once the danishes are mostly cool, top each one with a spoonful of the well-drained crushed pineapple. Drizzle the glaze all over the top and finish with a sprinkle of toasted coconut if you’re using it.
Pro Tips From My Kitchen
I’ve made this a few times, and here are some things I’ve learned that make it turn out PERFECT every time.
- Room Temp is Key: I mentioned it before, but your cream cheese MUST be at room temperature. Cold cream cheese equals lumpy filling. Just leave the block on your counter for an hour or so before you start.
- Drain That Pineapple: Seriously, squeeze the life out of that crushed pineapple. Put it in a fine-mesh sieve and press down with a spoon. If it’s too wet, the top of your danish will get soggy. Nobody wants that.
- Toast the Coconut: Don’t skip this step if you can help it. Toasted coconut has a nutty, rich flavor that is SO much better than the raw stuff. Just spread it on a baking sheet and bake for 3-5 minutes at 350°F, watching it like a hawk because it burns fast.
- Don’t Overbake: Keep an eye on it. You want the filling to be just set. If you overbake it, the texture can get a little rubbery. A slight wobble in the very center is what you’re looking for.
Possible Substitutions and Variations
Want to mix things up? I get it. Here are a few ideas to make this recipe your own.
| Instead of… | Try this… | Notes |
|---|---|---|
| Crushed Pineapple | Cherry Pie Filling | A classic danish flavor. |
| Crushed Pineapple | Thinly Sliced Strawberries | Toss with a little sugar first. |
| Lemon Juice | Lime Juice & Zest | Gives it a key lime pie vibe. |
| Shredded Coconut | Chopped Macadamia Nuts | Adds a fantastic crunch. |
Make-Ahead Tips
If you want to get a head start, you can absolutely make the cheesecake filling up to 24 hours in advance. Just keep it in an airtight container in the fridge.
When you’re ready to bake, give the filling a good stir and proceed with the recipe as written. It makes day-of prep a total breeze.
Nutrition, Pairings, and Other Good Stuff
Let’s talk about the nitty-gritty details.
Estimated Nutritional Breakdown
A quick note: This is just an estimate! It can vary based on the exact brands and ingredients you use. This is per danish, assuming the recipe makes 12.
| Nutrient | Estimated Amount |
|---|---|
| Calories | ~210 kcal |
| Fat | ~11g |
| Carbohydrates | ~24g |
| Protein | ~4g |
Ingredient Swaps for Different Diets
For a slightly lighter version, you can use Neufchâtel cheese (often labeled as 1/3 less fat cream cheese). You could also experiment with a sugar substitute like monk fruit or erythritol in the filling, but it might change the texture slightly.
Meal Pairing Suggestions
These are AMAZING for a brunch spread. Serve them alongside some savory breakfast casserole and a big fruit salad.
They also work as a simple dessert after a meal of grilled chicken or pork. And of course, they are incredible with a hot cup of coffee or a cold glass of milk.
Tips for Leftovers and Storage
If you somehow have leftovers, which is a big “if,” you’ll want to store them properly.
Cover the baking dish tightly with plastic wrap or transfer the danishes to an airtight container. They MUST be stored in the refrigerator because of the cream cheese filling.
They’ll stay good for up to 3 days. You can eat them cold right out of the fridge (my personal preference) or pop one in the microwave for 10-15 seconds to take the chill off.
Frequently Asked Questions (FAQ)
Here are answers to a few questions you might have.
Q1. Can I use fresh pineapple instead of canned?
Ans: Yes, but you’ll need to cook it down first. Fresh pineapple contains an enzyme (bromelain) that can prevent dairy from setting properly. Chop it finely and simmer it on the stove for 5-10 minutes to neutralize the enzyme, then cool and drain it before using.
Q2. My cheesecake filling is lumpy. What did I do wrong?
Ans: Nine times out of ten, this is because the cream cheese was too cold when you started mixing. It has to be soft all the way through to get that super smooth, creamy texture.
Q3. Do I have to use King’s Hawaiian rolls?
Ans: You don’t HAVE to, but their sweetness and soft texture are perfect for this recipe. If you substitute, use another type of soft, slightly sweet dinner roll. The results won’t be exactly the same, but it will still be tasty.
Q4. Why is my Danish soggy on top?
Ans: This is almost always due to wet pineapple. You have to drain it really, really well. Pressing it in a sieve is the best way to get all that extra liquid out so it doesn’t pool on top of your beautiful creation.
Wrapping Up
There you have it. A dessert that looks fancy but is secretly easy and uses one of the best breads on the planet. It’s sweet, creamy, a little tangy, and just an all-around crowd-pleaser.
It’s perfect for a special breakfast, a potluck, or just a Tuesday when you feel like you deserve a treat. Because you do.
I really hope you give this one a try. If you do, I’d love to hear about it! Leave a comment below and let me know how it turned out, or if you tried any fun variations. I’m always looking for new ideas!