Some days just call for a nuclear option of a dessert. You know the ones. The days when a single cookie won’t cut it, and fruit just feels like a personal insult.
On those days, you need something that understands you. Something that says, “I get it, it’s been a week.” This Chocolate Ooey Gooey Cake is that something. It’s basically a hug in a pan.
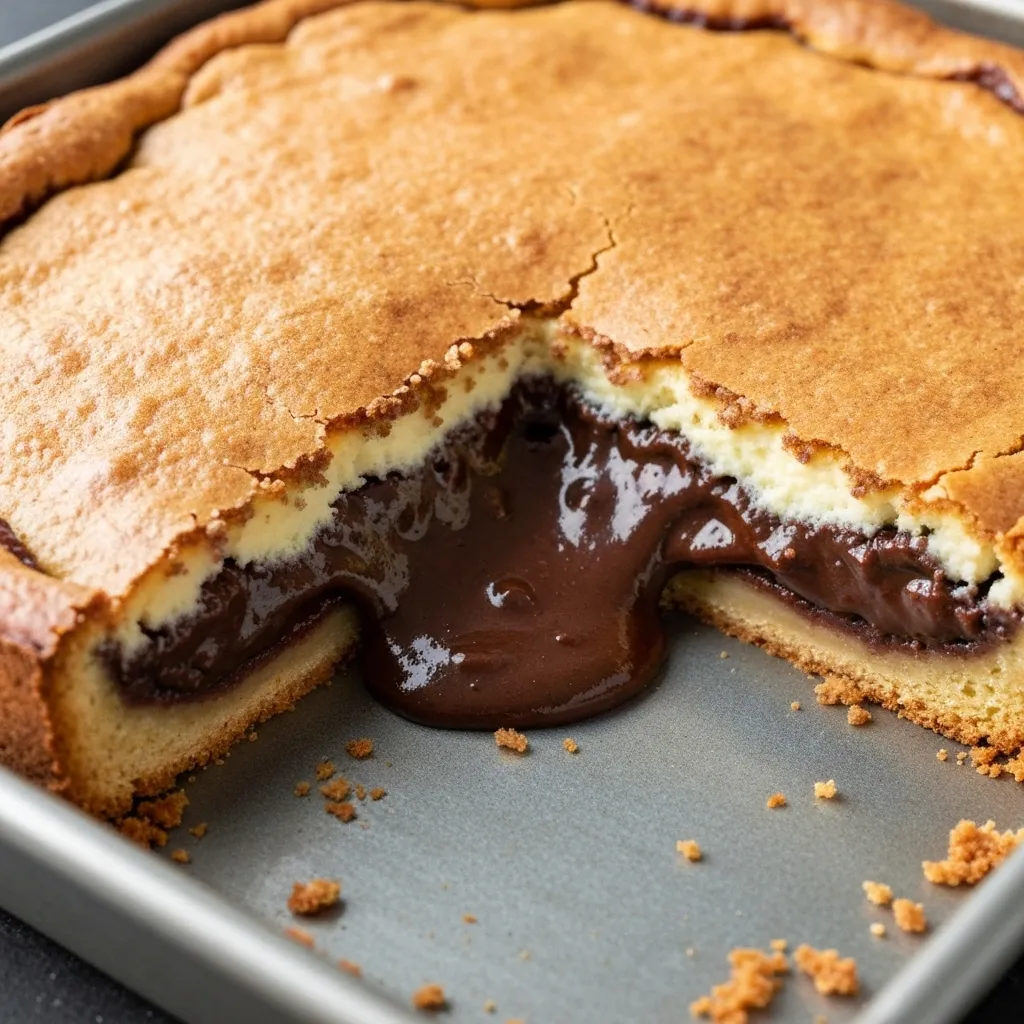
This isn’t your fancy, ten-layer, need-a-culinary-degree kind of cake. Nope. This is a gloriously simple, messy, and ridiculously delicious cake that’s all about that warm, molten chocolate center.
So let’s get you set up to make a cake that will make you forget your troubles, at least until the last bite.
What You’ll Need
- 1 box (about 15.25 oz) devil’s food cake mix
- 1/2 cup (1 stick) unsalted butter, melted
- 1 large egg
- 8 oz cream cheese, softened to room temperature
- 2 large eggs
- 1 teaspoon vanilla extract
- 1 lb (about 3 1/2 cups) powdered sugar
- 1 cup semi-sweet chocolate chips (optional, but are they really?)
Tools Required
- 9×13 inch baking pan
- Large mixing bowl
- Hand mixer or stand mixer
- Spatula
- Measuring cups and spoons
How to Make This Magical Cake
Step 1: First things first, get your oven preheating to 350°F (175°C). Lightly grease your 9×13 inch pan. Don’t skip the greasing unless you enjoy chiseling cake out of a pan later.
Step 2: Now for the crust. In a large bowl, combine the dry cake mix, melted butter, and one egg. It’s going to be thick and more like a dough than a batter. Don’t panic. This is normal.
Step 3: Press this mixture evenly into the bottom of your prepared pan. Your hands are honestly the best tool for this job. Just get in there.
Step 4: In that same bowl (because who wants more dishes?), beat the softened cream cheese with a hand mixer until it’s smooth and creamy. Scrape down the sides of the bowl.
Step 5: Add the other two eggs and the vanilla extract to the cream cheese. Beat again until everything is combined and looking happy together.
Step 6: Slowly add the powdered sugar. I mean SLOWLY. Unless you want to look like you just survived a powdered sugar explosion. Mix on low speed until it’s just combined, then on medium until it’s smooth.
Step 7: If you’re using chocolate chips, now’s the time to stir them into the cream cheese filling. Then, pour this glorious mixture over the crust in the pan. Spread it out evenly.
Step 8: Bake for 40-45 minutes. The edges should look set, but the center should still have a little jiggle to it. That jiggle is the “ooey gooey” part. Do not, I repeat, DO NOT overbake it.
Step 9: Let it cool on a wire rack for at least 20-30 minutes before you even think about cutting into it. It needs time to set up, or you’ll have delicious chocolate lava on your hands. Which isn’t the worst thing, but still.
Pro Tips
- The Jiggle is Key: Seriously, the biggest mistake is overbaking. You want to pull it from the oven when the center is still soft. It will firm up as it cools, but it will keep that gooey texture. If you wait until a toothpick comes out clean, you’ve gone too far.
- Room Temp is Your Friend: Make sure your cream cheese and eggs for the filling are actually at room temperature. Cold cream cheese leads to a lumpy filling, and nobody wants that. It just mixes so much better.
- Don’t Skimp on Cooling: I know it’s tempting to dive right in. But letting it cool for a bit allows the layers to settle. This gives you a cleaner slice and a better texture contrast between the firm crust and the gooey top.
- Good Chocolate Chips: If you’re adding chocolate chips, using a decent quality brand really makes a difference in the final taste and meltiness.
Possible Substitutions and Variations
Sometimes you have to work with what you’ve got. I get it.
- Cake Mix: While devil’s food is classic, you could totally use a German chocolate, dark chocolate, or even a yellow cake mix for a different vibe (they call that a “Gooey Butter Cake”).
- Add-ins: Feel free to get creative. A teaspoon of espresso powder in the filling will make the chocolate taste even more chocolatey. A swirl of peanut butter or caramel on top before baking would be amazing.
- Toppings: A dusting of cocoa powder, a drizzle of chocolate sauce, or a scoop of vanilla ice cream on top is never a bad idea.
Dietary Swaps & Nutrition Info
A quick note: This cake is meant to be an indulgence. Swapping ingredients will change the texture, but here are some ideas if you need them.
| For a… | Swap This | With This | Keep in Mind |
|---|---|---|---|
| Gluten-Free Version | Devil’s Food Cake Mix | Gluten-Free Chocolate Cake Mix | Texture might be slightly different. |
| Dairy-Free Version | Butter, Cream Cheese | DF Butter, DF Cream Cheese | Use high-quality substitutes. |
Estimated Nutritional Breakdown
(per serving, assuming 15 servings per pan, this is a rough estimate!)
| Nutrient | Approximate Amount |
|---|---|
| Calories | ~450 kcal |
| Fat | ~20g |
| Carbohydrates | ~65g |
| Sugar | ~50g |
Tips for Leftovers and Storage
If you somehow have leftovers, which is a big “if,” you can cover the pan with plastic wrap or foil.
It can be stored at room temperature for up to 2 days or in the refrigerator for about 4-5 days. I actually like it cold from the fridge, it gets super dense and fudgy.
To get that “freshly baked” gooeyness back, just pop a slice in the microwave for 15-20 seconds. It’s pure magic.
Frequently Asked Questions
Q1. My cake came out dry, not gooey. What happened?
Ans: Ah, the most common problem. You almost certainly overbaked it. The center should be jiggly when you take it out. Next time, pull it out a few minutes earlier.
Q2. Can I make this in a different sized pan?
Ans: Yes, but you’ll have to adjust the baking time. A smaller, deeper pan (like a 9×9 inch) will need more time, while cupcakes will need much less. Keep an eye on them!
Q3. My crust was super hard to spread. Is that right?
Ans: Yep, perfectly normal! The crust layer is a very thick, dough-like consistency. Using your fingers to press it down is the easiest way to get an even layer.
Q4. Can I freeze this cake?
Ans: You bet. Let it cool completely, then you can either freeze the whole pan (wrapped well) or freeze individual slices. It thaws great at room temperature or with a quick zap in the microwave.
Wrapping Up
There you have it. A dessert that’s simple to make but delivers a seriously impressive amount of comfort and joy. It’s rich, it’s decadent, and it’s unapologetically gooey.
Don’t be intimidated. This recipe is super forgiving. So go on, give it a try for your next celebration, bad day, or random Tuesday.
If you do make it, I’d love to hear how it went! Drop a comment below and let me know if you tried any fun variations or have any questions.