I have a memory burned into my brain of my first attempt at a cheesecake. It was for a family get-together, and I wanted to impress everyone. What came out of the oven looked less like a dessert and more like a topographical map of the Grand Canyon. It cracked everywhere.
I was so embarrassed, but my grandma, in her infinite wisdom, just spooned a bunch of fruit on top and said, “Now it’s rustic!”
After a lot of trial and error (and a few more “rustic” cheesecakes), I landed on this recipe. This is the one. It’s my no-fail, “makes you look like you know what you’re doing” cheesecake.
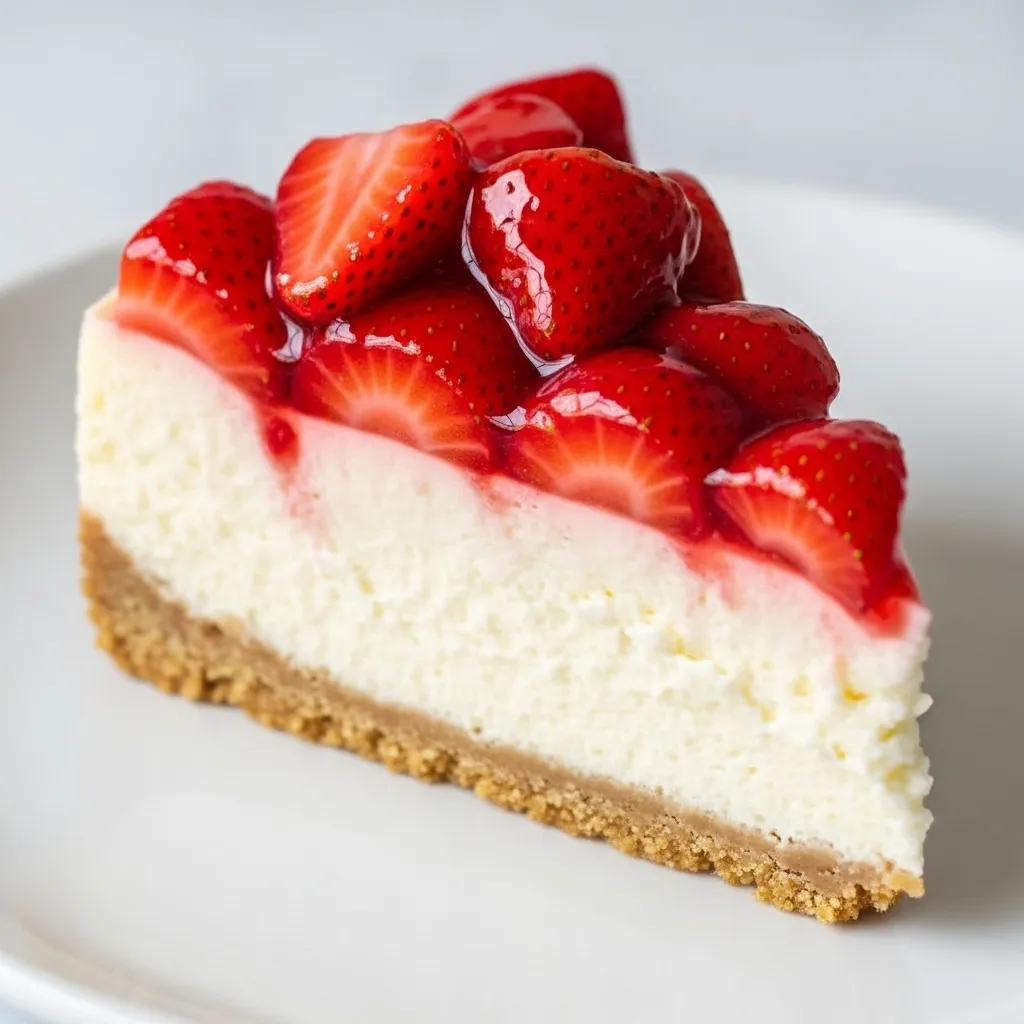
It’s rich, it’s creamy, and it has this fresh strawberry punch that cuts through the richness just perfectly. It’s the kind of dessert that makes people stop talking for a second when they take the first bite.
So if you’ve ever been scared to try making one from scratch, I get it. But trust me on this one. We’re going to walk through it, and you’re going to end up with something seriously amazing.
What You’ll Need
I’ve broken this down into the three main parts: the crust, that dreamy filling, and the simple strawberry topping that brings it all home.
For the Graham Cracker Crust:
- 1 ½ cups graham cracker crumbs (about 10 full cracker sheets)
- ⅓ cup unsalted butter, melted
- ¼ cup granulated sugar
For the Cheesecake Filling:
- 32 ounces (four 8-ounce blocks) full-fat cream cheese, softened to room temperature
- 1 ¾ cups granulated sugar
- 1 cup sour cream, at room temperature
- 1 teaspoon pure vanilla extract
- 5 large eggs, at room temperature
For the Strawberry Topping:
- 1 pound fresh strawberries, hulled and sliced
- ¼ cup granulated sugar
- 1 tablespoon lemon juice
Pro Tips
I’ve made enough mistakes for both of us, so let me save you some trouble. These are the non-negotiable things that make a huge difference.
1. Room Temperature Everything. Seriously.
If your cream cheese, sour cream, or eggs are even a little bit cold, you will get lumps. It’s just a fact. Cold ingredients don’t mix smoothly. Set them out on the counter for at least 2 hours before you even start. This is the number one secret to a creamy, smooth texture.
2. Do Not Overmix!
When you add the eggs, you want to mix on low speed and only until they’re just combined. Overmixing beats too much air into the batter. That air expands in the oven and then collapses as it cools, which is the main reason cheesecakes crack down the middle. Be gentle with it.
3. The Slow Cool-Down is Your Best Friend.
Drastic temperature changes are the enemy of cheesecake. Don’t just pull it from the hot oven and stick it on the cool counter. The recipe below walks you through it, but the key is to turn off the oven and let it sit in there with the door cracked for an hour. This gradual cooling process helps prevent cracks.
4. The Water Bath is Worth It.
I know, it sounds like an extra, fussy step. But a water bath (or bain-marie if you want to be fancy) adds moisture to the oven environment. This helps the cheesecake cook gently and evenly, making it extra creamy and, you guessed it, helps prevent cracks. A large roasting pan works perfectly for this.
Tools Required
You don’t need a professional kitchen, just a few key items. Having them ready before you start makes everything go so much smoother.
- 9-inch springform pan
- Large roasting pan (for the water bath)
- Electric mixer (stand or hand mixer)
- Mixing bowls
- Measuring cups and spoons
- Spatula
- Aluminum foil
| Tool | Why You Need It |
|---|---|
| Springform Pan | Lets you remove the sides for a perfect look. |
| Roasting Pan | For the essential water bath. |
| Electric Mixer | For that ultra-smooth, lump-free filling. |
Possible Substitutions and Variations
This recipe is pretty great as is, but you can totally play around with it. Here are a few ideas that work well.
- Different Crust: Not a graham cracker fan? Use crushed Biscoff cookies, vanilla wafers, or even Oreos (just scrape out the filling first).
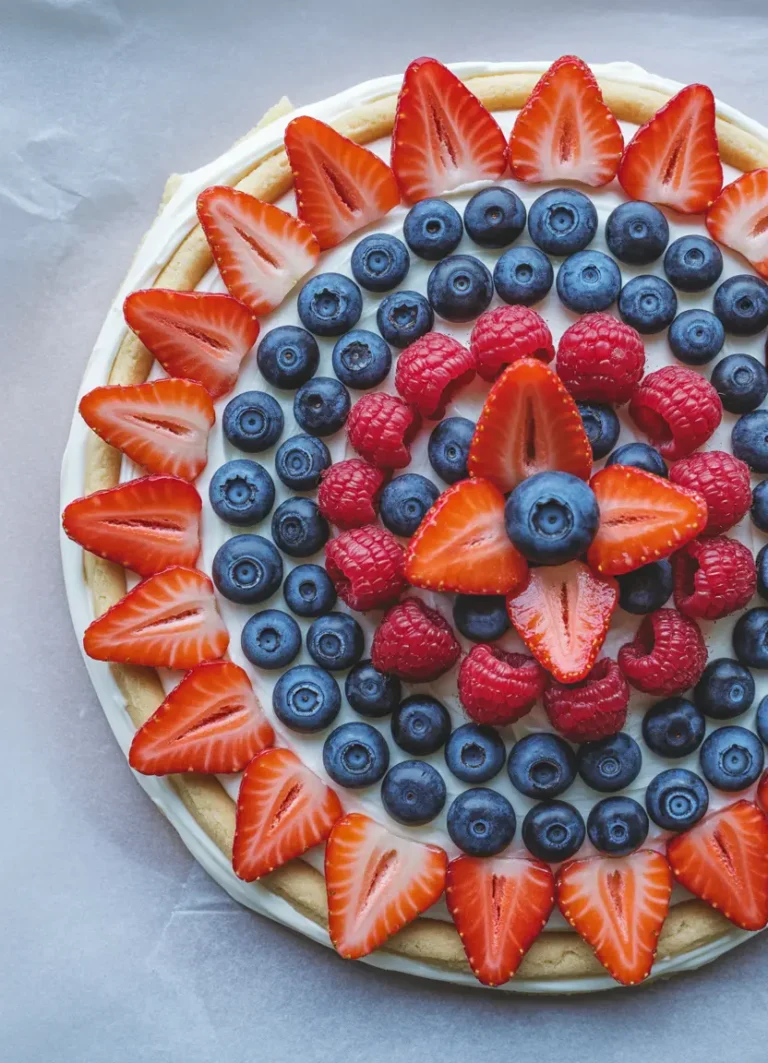
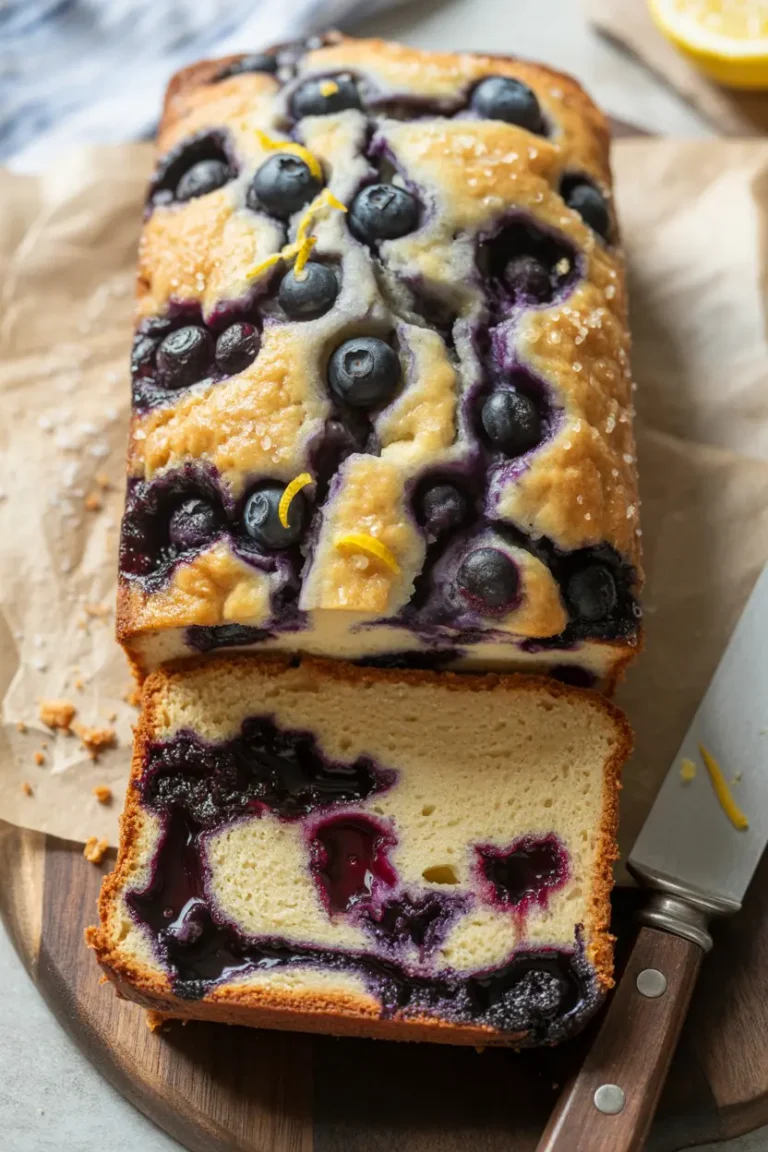
- Other Berries: This is amazing with a raspberry, blueberry, or mixed berry topping. Use the same topping recipe, just swap the fruit.
- A Little Zest: Add the zest of one lemon to the cheesecake filling along with the vanilla for a brighter, tangier flavor that goes beautifully with the strawberries.
Make-Ahead Tips
Cheesecake is actually the perfect make-ahead dessert because it needs time to chill.
You can make the entire cheesecake 1 to 2 days in advance. Just bake and chill it completely, covered tightly in the fridge. Wait to add the fresh strawberry topping until you’re ready to serve it. This keeps the topping fresh and prevents the crust from getting soggy.
How to Make the Luscious Strawberry Dream Cheesecake
Alright, let’s do this. Just take it one step at a time.
Step 1: Prep Your Pans and Oven
Preheat your oven to 350°F (175°C). Take your 9-inch springform pan and wrap the outside bottom and sides with a double layer of heavy-duty aluminum foil. This is your waterproofing for the water bath. Set it aside.
Step 2: Make the Crust
In a small bowl, mix the graham cracker crumbs and the ¼ cup of sugar. Pour in the melted butter and mix it with a fork until all the crumbs are moistened. It should feel like wet sand.
Step 3: Press and Bake the Crust
Press the crumb mixture firmly and evenly into the bottom and slightly up the sides of your prepared springform pan. I use the bottom of a measuring cup to get it nice and packed. Bake for 10 minutes. Then, take it out and let it cool on a wire rack while you make the filling.
Step 4: Start the Filling
In a large bowl with your electric mixer, beat the room temperature cream cheese on medium speed until it’s completely smooth and creamy. Scrape down the sides and bottom of the bowl often. This step is key to avoiding lumps.
Step 5: Add Sugar and Wet Ingredients
Add the 1 ¾ cups of sugar and beat until smooth. Then, add the room temperature sour cream and vanilla extract, mixing on low until they’re just combined. Remember to keep scraping that bowl!
Step 6: Add the Eggs
Add the room temperature eggs one at a time, mixing on the lowest speed possible after each one. Only mix until the yellow yolk disappears. This is the “don’t overmix” part I was talking about.
Step 7: Assemble for the Water Bath
Pour the filling over your cooled crust and spread it into an even layer. Place the springform pan into the large roasting pan. Put the roasting pan on the oven rack, and then carefully pour hot water into the roasting pan until it comes about halfway up the sides of the foil-wrapped pan.
Step 8: Bake!
Bake at 350°F (175°C) for 60-70 minutes. The cheesecake is done when the edges are set, but the center 2-3 inches still has a slight jiggle to it. It will set up completely as it cools.
Step 9: The All-Important Cool Down
Turn the oven off. Crack the oven door open just a little bit (a wooden spoon is great for this) and leave the cheesecake in the oven to cool for 1 hour. This slow, gentle cooling is your anti-crack insurance.
Step 10: Chill Out
After an hour in the cooling oven, carefully remove the cheesecake from the water bath and take off the foil. Let it cool completely on a wire rack at room temperature. Then, cover it loosely with plastic wrap and refrigerate for at least 6 hours, but overnight is even better.
Step 11: Make the Topping
Right before you’re ready to serve, mix the sliced strawberries, ¼ cup sugar, and lemon juice in a bowl. Let it sit for about 15 minutes for the strawberries to release their amazing juices.
Step 12: Serve and Be a Hero
Run a thin knife around the edge of the cheesecake before releasing the springform pan’s side. Spoon the strawberry topping over the top and serve.
| Nutritional Breakdown (Approximate) | |
|---|---|
| Serving Size | 1 slice (1/12th of cake) |
| Calories | ~650 kcal |
| Fat | ~45g |
| Sugar | ~50g |
| Protein | ~10g |
Ingredient Swaps & Meal Pairings
For a Gluten-Free Diet:
The filling is naturally gluten-free! Just swap the graham cracker crust for a gluten-free version. You can buy pre-made GF graham cracker crumbs or make your own crust from ground almonds or GF cookies.
For a Lower Sugar Version:
You can reduce the sugar in the filling by about ¼ to ½ cup without a huge impact on the structure, but it will be tangier. For the topping, you can use a sugar substitute like Stevia or just let the natural sweetness of the berries shine.
Meal Pairing Suggestions:
This cheesecake is rich, so it’s best after a lighter meal. Think grilled chicken salad, a simple pasta dish, or a brothy soup. And of course, a good cup of coffee or a cold glass of milk is the perfect companion.
Cooking Time Efficiency:
While the crust is doing its quick 10-minute bake, you can be measuring out all your filling ingredients. While the cheesecake is doing its long bake and cool-down, you have plenty of time to clean up the kitchen.
Leftovers and Storage
If you somehow have leftovers, store them in the fridge, tightly covered. The cheesecake will last for about 4 to 5 days. I’d recommend storing the topping separately if you can, to keep the crust from getting soft.
You can also freeze cheesecake! For best results, freeze it without the topping. Wrap the whole cake or individual slices in plastic wrap, then a layer of aluminum foil. It will keep in the freezer for up to 2 months. Just thaw it in the fridge overnight before serving.
Frequently Asked Questions
Q1. My cheesecake cracked! What did I do wrong?
Ans: Don’t panic! It still tastes amazing. The most common reasons are over-mixing after adding the eggs, a drastic temperature change, or not using a water bath. A dollop of whipped cream or a generous spoonful of the strawberry topping covers any crack perfectly.
Q2. Can I use frozen strawberries for the topping?
Ans: Yes, you can. Thaw them first and drain off any excess liquid before mixing with the sugar and lemon juice. The topping might be a bit more “saucy” than with fresh berries, but it will still be delicious.
Q3. Do I really, truly have to use a springform pan?
Ans: For the classic cheesecake look, yes. A springform pan allows you to remove the sides cleanly. You *could* make it in a 9-inch deep-dish pie plate, but you’ll have to serve it by scooping it out of the pan, which is a bit messier.
Q4. I forgot to put my ingredients out. Can I soften cream cheese quickly?
Ans: You can! Unwrap the cream cheese blocks, cut them into smaller cubes, and spread them out on a plate. They’ll come to room temperature much faster, in about 30-45 minutes. Don’t use the microwave, as it can make it melty and oily.
Wrapping Up
So there you have it. The secret to a perfect, creamy, luscious strawberry cheesecake isn’t some crazy chef technique. It’s just about paying attention to a few small details, like room temperature ingredients and a slow cool-down.
You can absolutely do this.
When you make it, and you pull that beautiful, crack-free dessert out of the fridge, you’re going to feel like a baking champion. I promise.
Give it a try. And when you do, please come back and leave a comment below. I’d love to hear how it turned out for you or answer any other questions you might have!